




The Rubik’s Cube looks complicated at first, but once you understand the basic method, it becomes a step-by-step puzzle rather than a mystery. You do not need to be a genius or memorize dozens of formulas to solve it. With a little patience and practice, anyone can learn.
Understanding the Cube
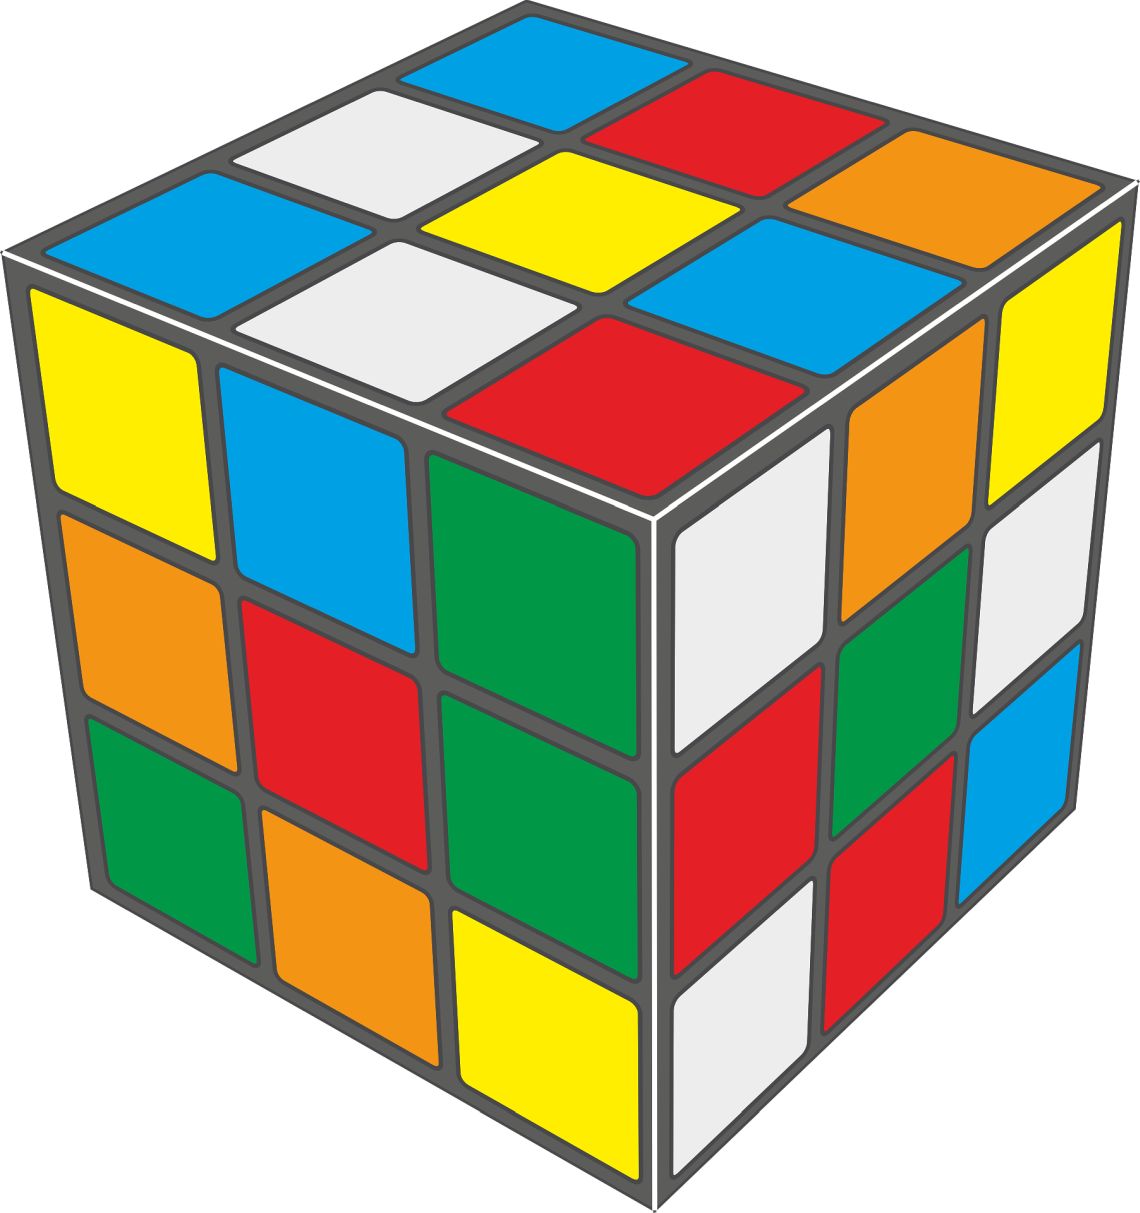
A standard Rubik’s Cube has six faces, each with a different color. The center piece on each face never moves, so it tells you what color that face should be when solved. The edge pieces have two colors, and the corner pieces have three.
When solving the cube, the goal is not to move random colors around until they match. Instead, you solve the cube in layers.
A common beginner method is:
- Solve the white cross
- Solve the white corners
- Solve the middle layer
- Solve the yellow cross
- Position the yellow edges
- Position the yellow corners
- Orient the yellow corners
Learn the Basic Moves
Before starting, it helps to know the standard notation:
- U = turn the top face clockwise
- D = turn the bottom face clockwise
- L = turn the left face clockwise
- R = turn the right face clockwise
- F = turn the front face clockwise
- B = turn the back face clockwise
If a letter has an apostrophe, like R’, turn that face counterclockwise.
If a letter has a 2, like U2, turn it twice.
Step 1: Solve the White Cross
Start by making a white cross on the white face. The white edge pieces must not only match the white center, but their side colors must also match the centers on the neighboring faces.
This is the foundation of the whole solve, so take your time here. Beginners often focus only on getting the white edges together and forget to line up the side colors.
Step 2: Solve the White Corners
Next, place the four white corner pieces so the entire first layer is complete.
A useful beginner move for inserting a corner is:
R U R’ U’
You may need to repeat it until the corner is in the correct position. Once all four white corners are solved, the entire white face and the first layer around it should be complete.
Step 3: Solve the Middle Layer
Now move on to the four edge pieces in the middle layer. At this stage, ignore any yellow pieces and focus on placing the non-yellow edges between the correct center colors.
Two common algorithms are used here.
To insert an edge to the right:
U R U’ R’ U’ F’ U F
To insert an edge to the left:
U’ L’ U L U F U’ F’
Repeat these as needed until the middle layer is finished.
Step 4: Make the Yellow Cross
Once the first two layers are done, turn the cube over so yellow is on top. Your next goal is to form a yellow cross.
You may see one of several patterns: a dot, an L-shape, or a line. Use this algorithm:
F R U R’ U’ F’
Repeat it until the yellow cross appears on the top face.
Step 5: Position the Yellow Edges
Now that the yellow cross is formed, the yellow edge pieces need to be moved into their correct positions relative to the side centers.
Use:
R U R’ U R U2 R’
This helps cycle the top edges. Keep repeating until all four yellow edges are in the correct places.
Step 6: Position the Yellow Corners
At this stage, the yellow corners may still be in the wrong spots. The goal now is to move each corner to its correct location, even if it is twisted incorrectly.
Use:
U R U’ L’ U R’ U’ L
This swaps corner positions. Repeat until all corners are in the right places.
Step 7: Orient the Yellow Corners
This is the final step. The corners are in the correct locations, but they may need to be twisted so the yellow stickers face upward.
Hold the cube so an unsolved yellow corner is at the front-right-top position, then perform:
R’ D’ R D
Repeat until that corner is oriented correctly. Then turn only the top layer to bring the next incorrect yellow corner into place and repeat the same move.
Do not worry if the cube looks mixed up during this step. That is normal. As long as you keep the rest of the cube in the same orientation and only turn the top layer between corners, the cube will solve correctly.
Tips for Beginners
Learning to solve a Rubik’s Cube takes repetition. At first, the algorithms may feel confusing, but over time your hands will start to remember them.
A few tips can make learning easier:
- Practice one step at a time instead of trying to memorize everything at once
- Always check that your side colors match, not just the top face
- Move slowly and accurately before trying to move fast
- Do not get discouraged if you mess up; even experienced solvers make mistakes
Why the Rubik’s Cube Is Worth Learning
Solving a Rubik’s Cube is more than a party trick. It improves concentration, pattern recognition, patience, and problem-solving skills. It also gives a real sense of achievement. What once seemed impossible becomes something you can do with confidence.
The first successful solve is always exciting. After that, many people begin trying to improve their speed, learn advanced methods, or even compete.
Conclusion
The Rubik’s Cube becomes much easier when you break it into simple stages. By solving the white cross, finishing the first layer, completing the middle, and then working through the yellow face, you can solve the entire puzzle with a beginner-friendly method.
At first it may seem slow, but every solve builds your understanding. With practice, the cube stops being a frustrating jumble of colors and becomes a puzzle you know exactly how to handle.

A Gambling Guide
Unlock the World of Gambling with This FREE Comprehensive Guide! Your Ultimate Free Resource for Everything Gambling-Related!
About Online Poker
Your complete, free guide to mastering the game of poker that has taken the world by storm.

Gaming Guide – Gambling in Europe
A comprehensive guide that offers unparalleled insights into the fascinating realm of European gambling.
Discover more from MultiMedia
Subscribe to get the latest posts sent to your email.


Leave a Reply